Craving a quick, tasty dessert? Look no further! I’ll show you how to make a Chocolate Peanut Butter Mug Cake that’s rich and satisfying in just minutes. With simple ingredients and easy steps, you can whip up this delightful treat anytime. Plus, I’ll share tips for making it perfect every time. Get ready to indulge your sweet tooth and impress yourself with this easy recipe!
Why I Love This Recipe
- Quick and Easy: This mug cake takes only a few minutes to prepare and cook, making it a perfect last-minute dessert option.
- Customizable: You can easily adapt the recipe by adding your favorite mix-ins like chocolate chips or nuts for added flavor and texture.
- Single Serving: This recipe is designed for one, so you can indulge without the temptation of leftover cake hanging around.
- Peanut Butter Lovers Unite: The rich combination of chocolate and peanut butter creates a decadent treat that satisfies any sweet tooth.
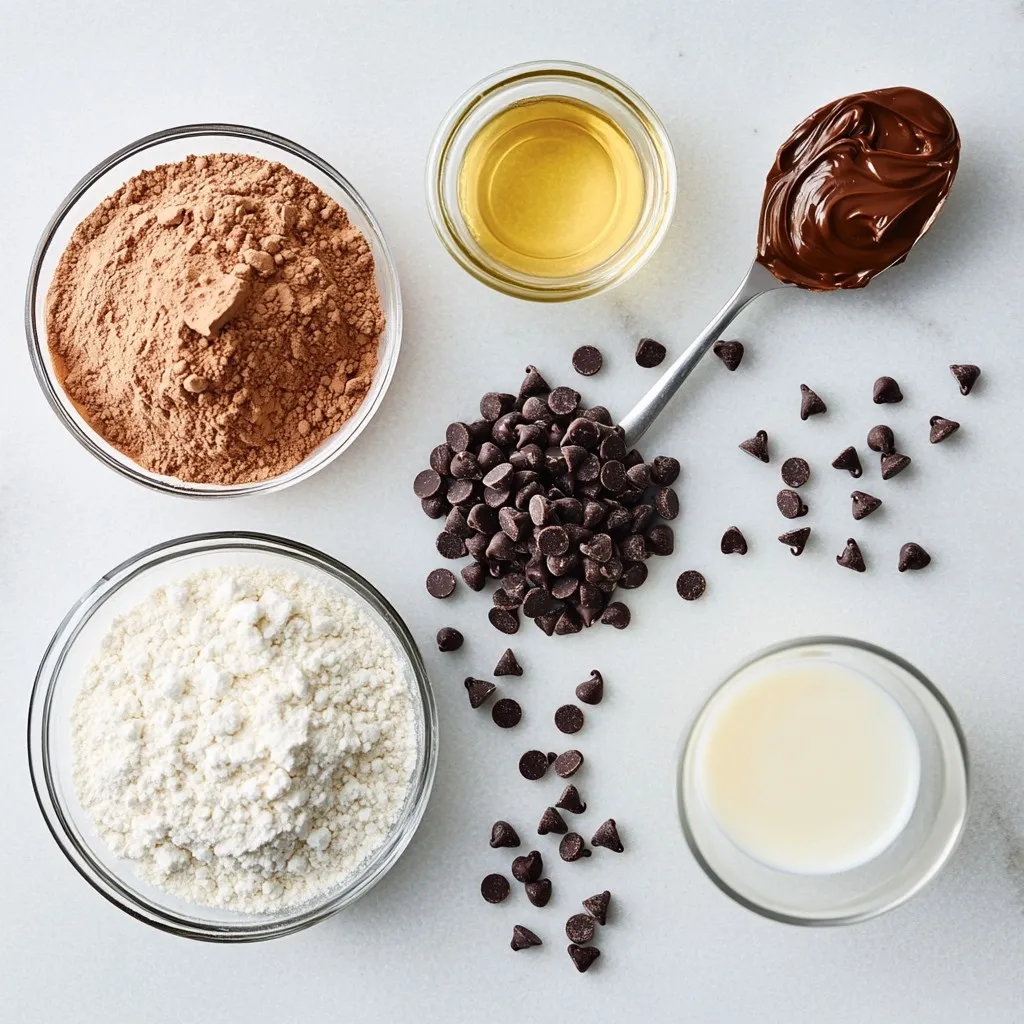
Ingredients
Dry Ingredients
– 4 tablespoons all-purpose flour
– 2 tablespoons unsweetened cocoa powder
– 4 tablespoons granulated sugar
– 1/8 teaspoon baking powder
– 1/8 teaspoon salt
Wet Ingredients
– 3 tablespoons milk (any type, dairy or non-dairy)
– 2 tablespoons creamy or crunchy peanut butter
– 1 tablespoon vegetable oil (or melted coconut oil)
– 1/4 teaspoon vanilla extract
Optional Toppings
– A handful of chocolate chips
– Chopped peanuts
When I make my chocolate peanut butter mug cake, I focus on the ingredients first. The dry ingredients form the base. I use all-purpose flour for structure. Unsweetened cocoa powder gives that rich chocolate taste. Granulated sugar adds sweetness, while baking powder helps the cake rise. A pinch of salt balances the flavors.
Next, I mix in the wet ingredients. Milk brings moisture, while peanut butter adds a lovely creaminess. I prefer creamy peanut butter, but crunchy works too. Vegetable oil keeps the cake moist, and vanilla extract adds warmth.
For fun, I often toss in optional toppings. Chocolate chips melt into gooey pockets, while chopped peanuts give a nice crunch. These ingredients come together to create a delightful treat that’s quick and easy.
Step-by-Step Instructions
Preparing the Mug
To start, grab a microwave-safe mug. In this mug, combine the dry ingredients:
– 4 tablespoons all-purpose flour
– 2 tablespoons unsweetened cocoa powder
– 4 tablespoons granulated sugar
– 1/8 teaspoon baking powder
– 1/8 teaspoon salt
Mix these dry ingredients thoroughly. Use a small whisk or fork to ensure even mixing. Make sure the cocoa powder blends well with the flour and sugar.
Mixing the Batter
Next, it’s time to add the wet ingredients. Carefully pour in:
– 3 tablespoons milk (any type you like)
– 2 tablespoons creamy or crunchy peanut butter
– 1 tablespoon vegetable oil (or melted coconut oil)
– 1/4 teaspoon vanilla extract
Blend these ingredients into the dry mix. Use your fork or whisk again until the batter is smooth and lump-free. This part is fun! It may take a minute, so keep mixing. If you want, you can fold in a handful of chocolate chips or chopped peanuts for extra flavor.
Cooking the Mug Cake
Now, place your mug in the microwave. Cook it on high for 40 to 60 seconds. Start checking at 40 seconds. The cake is ready when it has risen and the center looks set. Remember, microwave times can vary, so keep an eye on it!
Once done, carefully take the mug out (it will be hot!). Let it cool for about 1 minute. Enjoy your cake as it is, or add a dollop of peanut butter or ice cream for a special treat!
Tips & Tricks
Achieving the Perfect Texture
To get a great mug cake, start by mixing well but not too much. Overmixing can make it tough. You want a light and fluffy cake, not a rubbery one. Be sure to watch the cooking time closely. Microwaves vary, so check at 40 seconds. The cake is ready when it rises and the center looks set.
Enhancing Flavor
Want to boost the flavor? Try adding a pinch of cinnamon or a splash of coffee. You can also fold in chocolate chips or chopped peanuts before cooking. For serving, a scoop of ice cream on top makes it extra special. You could also add a drizzle of chocolate sauce or a dollop of peanut butter.
Visual Presentation
Garnishing makes your mug cake look great. A sprinkle of powdered sugar adds a nice touch. You can also place a few extra chocolate chips on top. For photos, take your shot in natural light. A simple background highlights the cake’s rich color. Use a colorful plate to make it pop!
Pro Tips
- Mix Thoroughly: Ensure to mix the dry ingredients well before adding wet ingredients to avoid lumps in your batter.
- Check Microwave Power: Since microwave wattages vary, start with shorter cooking times and adjust as needed to prevent overcooking.
- Let It Cool: Allow the mug cake to cool for a minute after microwaving to set properly and avoid burns.
- Customize Your Toppings: Feel free to experiment with different toppings like whipped cream, caramel sauce, or nuts for a personalized touch.
Variations
Flavor Customizations
You can easily change the flavor of your mug cake. Try using different nut butters. Almond butter or cashew butter work great. Each adds a unique taste. You can also mix in spices like cinnamon. Just a pinch gives a warm, cozy flavor. Some people even add a dash of sea salt. It can balance the sweetness and enhance the taste.
Dietary Considerations
Do you need gluten-free options? You can swap all-purpose flour for gluten-free flour. This keeps the texture nice while being safe for gluten-free diets. If you’re vegan, use non-dairy milk. Replace the egg with a tablespoon of apple sauce. This keeps the cake moist and fluffy without eggs.
Serving Suggestions
Serving your mug cake with ice cream is a treat! A scoop of vanilla or chocolate ice cream melts into the warm cake. If you want alternatives for toppings, try whipped cream or fresh berries. They add a fresh taste that pairs well with chocolate and peanut butter. You can also top it with a drizzle of chocolate sauce for extra sweetness.
Storage Info
Short-Term Storage
Enjoy your chocolate peanut butter mug cake right away for the best taste. This treat is warm and gooey right from the microwave. If you must wait, cover the mug with a plate to keep it warm.
Long-Term Storage
Can you refrigerate or freeze mug cake?
Yes, you can refrigerate or freeze the mug cake. If you choose to refrigerate, make sure to cover it well. This will keep it fresh for up to two days. For freezing, let it cool completely first. Then, wrap it tightly and store it in the freezer for up to a month.
Tips for reheating leftovers
To reheat, place the mug cake in the microwave. Heat it for about 10 to 15 seconds. Check if it is warm enough. If not, heat for a few more seconds. If it’s frozen, thaw it in the fridge overnight before reheating. Enjoy your cake warm for the best flavor!
FAQs
What if my mug cake overflows in the microwave?
If your mug cake overflows, don’t worry! This can happen if you fill the mug too full. I suggest using a larger mug next time. Aim for a mug that holds at least 12 ounces. You can also reduce the batter amount. Try filling the mug about halfway. This gives the cake room to rise without spilling over.
Can I make this mug cake without a microwave?
Yes, you can! If you don’t have a microwave, you can bake it. Preheat your oven to 350°F (175°C). Pour the batter into a small oven-safe dish. Bake for about 10 to 12 minutes until the center is set. Keep an eye on it. Oven times can vary.
How can I make this recipe for multiple servings?
To make more servings, simply multiply the ingredients. For example, if you want four servings, use four mugs. Multiply each ingredient by four. Mix them all in a bowl instead of individual mugs. Then divide the batter evenly among the mugs. Cook them one at a time in the microwave.
What is the best way to serve a chocolate peanut butter mug cake?
The best way to serve this treat is warm. Top it with a scoop of ice cream or a dollop of peanut butter. You can also drizzle chocolate sauce on top. For a crunchy touch, sprinkle some chopped peanuts or chocolate chips. Serve it right away for the best experience!
This blog post explored making a quick chocolate peanut butter mug cake. We discussed the ingredients, from flour to optional toppings. I shared step-by-step instructions for preparing, mixing, and cooking. Remember the key tips for the best texture and flavor. You can customize this recipe for dietary needs and long-term storage. In just a few minutes, you can enjoy a rich treat. Try this simple recipe and indulge in your creation toda